

AI Agent Component Spec
AI Agent Component Spec
| Field | Value |
|---|---|
| Package | cometchat_chat_uikit |
| Init | CometChatUIKit.init(uiKitSettings) — must resolve before login() |
| Login | CometChatUIKit.login("UID") — must resolve before rendering widgets |
| Order | init() → login() → render. Breaking this order = blank screen |
| Auth Key | Dev/testing only. Use Auth Token in production |
| Calling | Optional. Install cometchat_calls_uikit to enable |
| Platforms | iOS 13.0+, Android API 24+ (with calling) |
| AI Skills | npx @cometchat/skills add — GitHub |
Integrate with AI Coding Agents
Skip the manual steps — use CometChat Skills to integrate via your AI coding agent. Your agent has a short conversation with you to understand your project and chat requirements, then writes production-grade integration code tailored to the files you already have.--ide <name> to target a specific IDE (e.g. --ide cursor), or --ide all for all supported IDEs.
Then in your IDE:
--dart-define.
After the first integration, re-run /cometchat to access the iteration menu: theme presets, 40+ features, component customization, production auth, user management, and diagnostics.
Works with Claude Code, Cursor, Codex, VS Code Copilot, Windsurf, Cline, Kiro, and 30+ more agents.
Prerequisites
You need three things from the CometChat Dashboard:| Credential | Where to find it |
|---|---|
| App ID | Dashboard → Your App → Credentials |
| Auth Key | Dashboard → Your App → Credentials |
| Region | Dashboard → Your App → Credentials (e.g. us, eu, in) |
Step 1 — Create a Flutter Project
Step 2 — Install the UI Kit
Add to yourpubspec.yaml:
pubspec.yaml
android/gradle.properties:
gradle.properties
android/app/build.gradle:
build.gradle
ios/Podfile:
Podfile
Step 3 — Initialize CometChat
Create a constants file and initialize the UI Kit before anything else.lib/cometchat_config.dart
lib/main.dart
Step 4 — Login
After init resolves, log the user in. For development, use one of the pre-created test UIDs:cometchat-uid-1 · cometchat-uid-2 · cometchat-uid-3 · cometchat-uid-4 · cometchat-uid-5
getLoggedInUser()checks for an existing session so you don’t re-login unnecessarily.- Widgets must not render until login resolves — use a state flag to gate rendering.
For production, use
loginWithAuthToken() instead of Auth Key. Generate tokens server-side via the REST API.Step 5 — Choose a Chat Experience
Integrate a conversation view that suits your app’s UX. Each option below includes a step-by-step guide.Conversation List + Message View
Two-panel layout — conversation list with navigation to messages. Think WhatsApp or Telegram.- Stack-based navigation with
Navigator.push() - Switch between one-to-one and group conversations
- Real-time updates and message sync across sessions
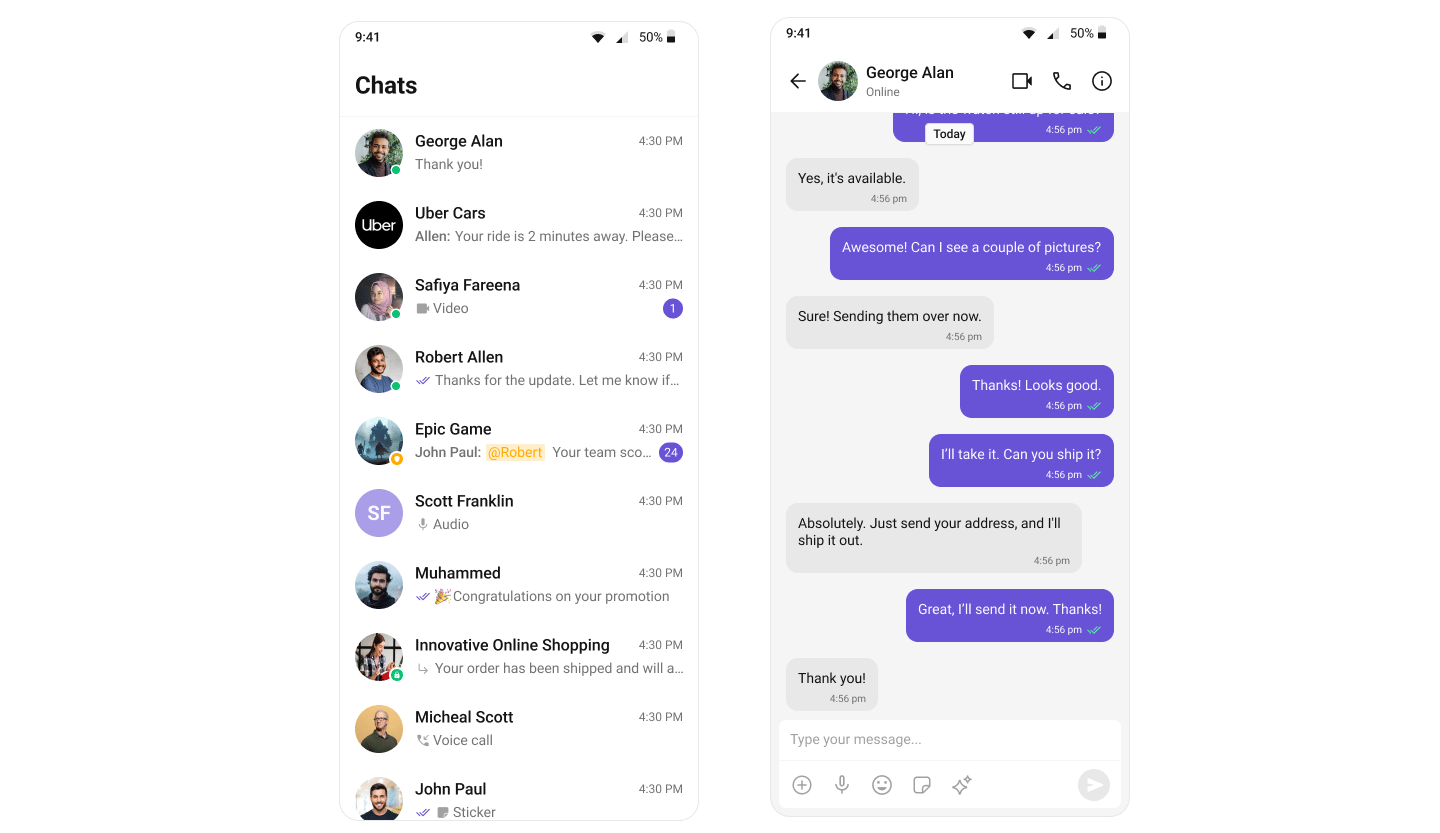
Build Conversation List + Message View
Step-by-step guide to build this layout
One-to-One / Group Chat
Single chat window — no conversation list. Good for support chat, embedded widgets, or focused messaging.- Dedicated chat window for one-on-one or group messaging
- No conversation list — users go directly into the chat
- Ideal for support chat or contextual messaging
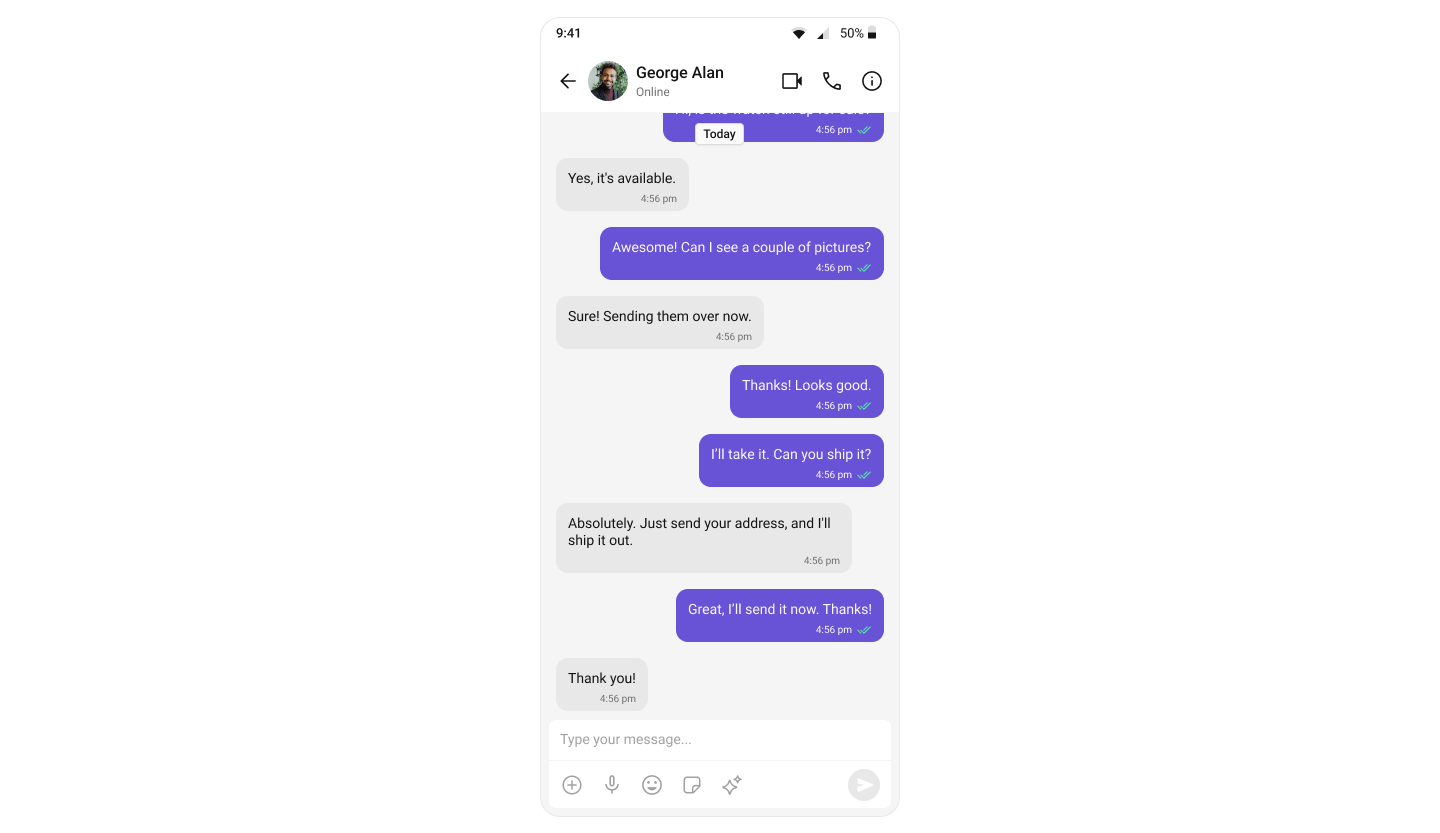
Build One-to-One / Group Chat
Step-by-step guide to build this layout
Tab-Based Chat
Tabbed navigation — Chat, Call Logs, Users, Groups in separate tabs. Good for full-featured apps.BottomNavigationBarwith independent screens- Unified experience for conversations, call history, and contacts
- Scales well for adding future features
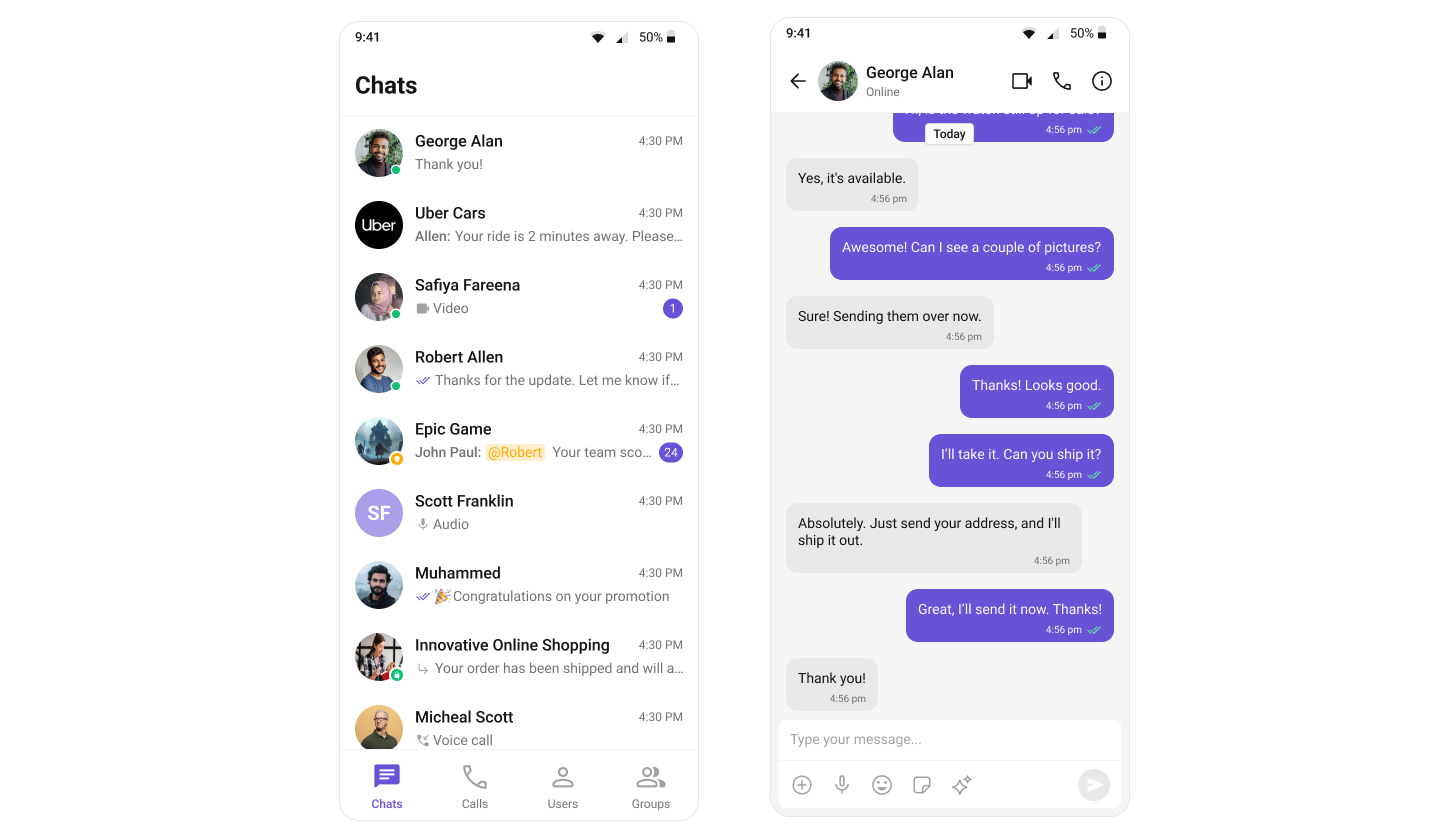
Build Tab-Based Chat
Step-by-step guide to build this layout
Build Your Own Chat Experience
Need full control over the UI? Use individual widgets, customize themes, and wire up your own layouts.- Sample App — Working reference app to compare against
- Components — All prebuilt UI widgets with props and customization options
- Core Features — Messaging, real-time updates, and other capabilities
- Theming — Colors, fonts, dark mode, and custom styling
- Build Your Own UI — Skip the UI Kit entirely and build on the raw SDK
Next Steps
Components Overview
Browse all prebuilt UI widgets
Theming
Customize colors, fonts, and styles
Core Features
Chat features included out of the box
Methods
Init, login, and other SDK methods