

Android UI Kit Sample App (Kotlin)
Reference implementation of Kotlin UI Kit, FCM and Push Notification Setup.
What this guide covers
- FCM setup and CometChat provider wiring (credentials + Gradle + manifest).
- Token registration/unregistration so CometChat routes pushes correctly.
- Handling message pushes with grouped notifications and inline reply.
- Handling call pushes with
ConnectionServicefor native telecom UI. - Deep links/navigation from notifications and payload customization.
- App icon badge count and grouped notifications using
unreadMessageCountfrom the CometChat push payload.
How FCM and CometChat fit together
- Why FCM? Google issues device tokens and delivers raw push payloads to Android. You must add
google-services.json, the Messaging SDK, and a service receiver (FCMService) so the device can receive pushes. - Why a CometChat provider? The Provider ID tells CometChat which FCM credentials to use when sending to your app. Without registering tokens against this ID, CometChat cannot target your device.
- Token registration bridge: The app retrieves the FCM token and calls
CometChatNotifications.registerPushToken(pushToken, PushPlatforms.FCM_ANDROID, providerId, …). That binds the token to your logged-in user so CometChat can route message/call pushes to FCM on your behalf. - Payload handling: When FCM delivers a push, your
FCMService/FCMMessageBroadcastReceiverparses CometChat’s payload, shows notifications (grouped, inline reply), and forwards intents to your activities. For calls,CometChatVoIPConnectionServicesurfaces a telecom-grade UI and uses the same payload to accept/reject server-side. - Dashboard ↔ app contract: The Provider ID in
AppConstants.FCMConstants.PROVIDER_IDmust match the dashboard provider you created. The package name in Firebase and theapplicationIdin Gradle must match, or FCM will reject the token.
1. Prepare Firebase and CometChat
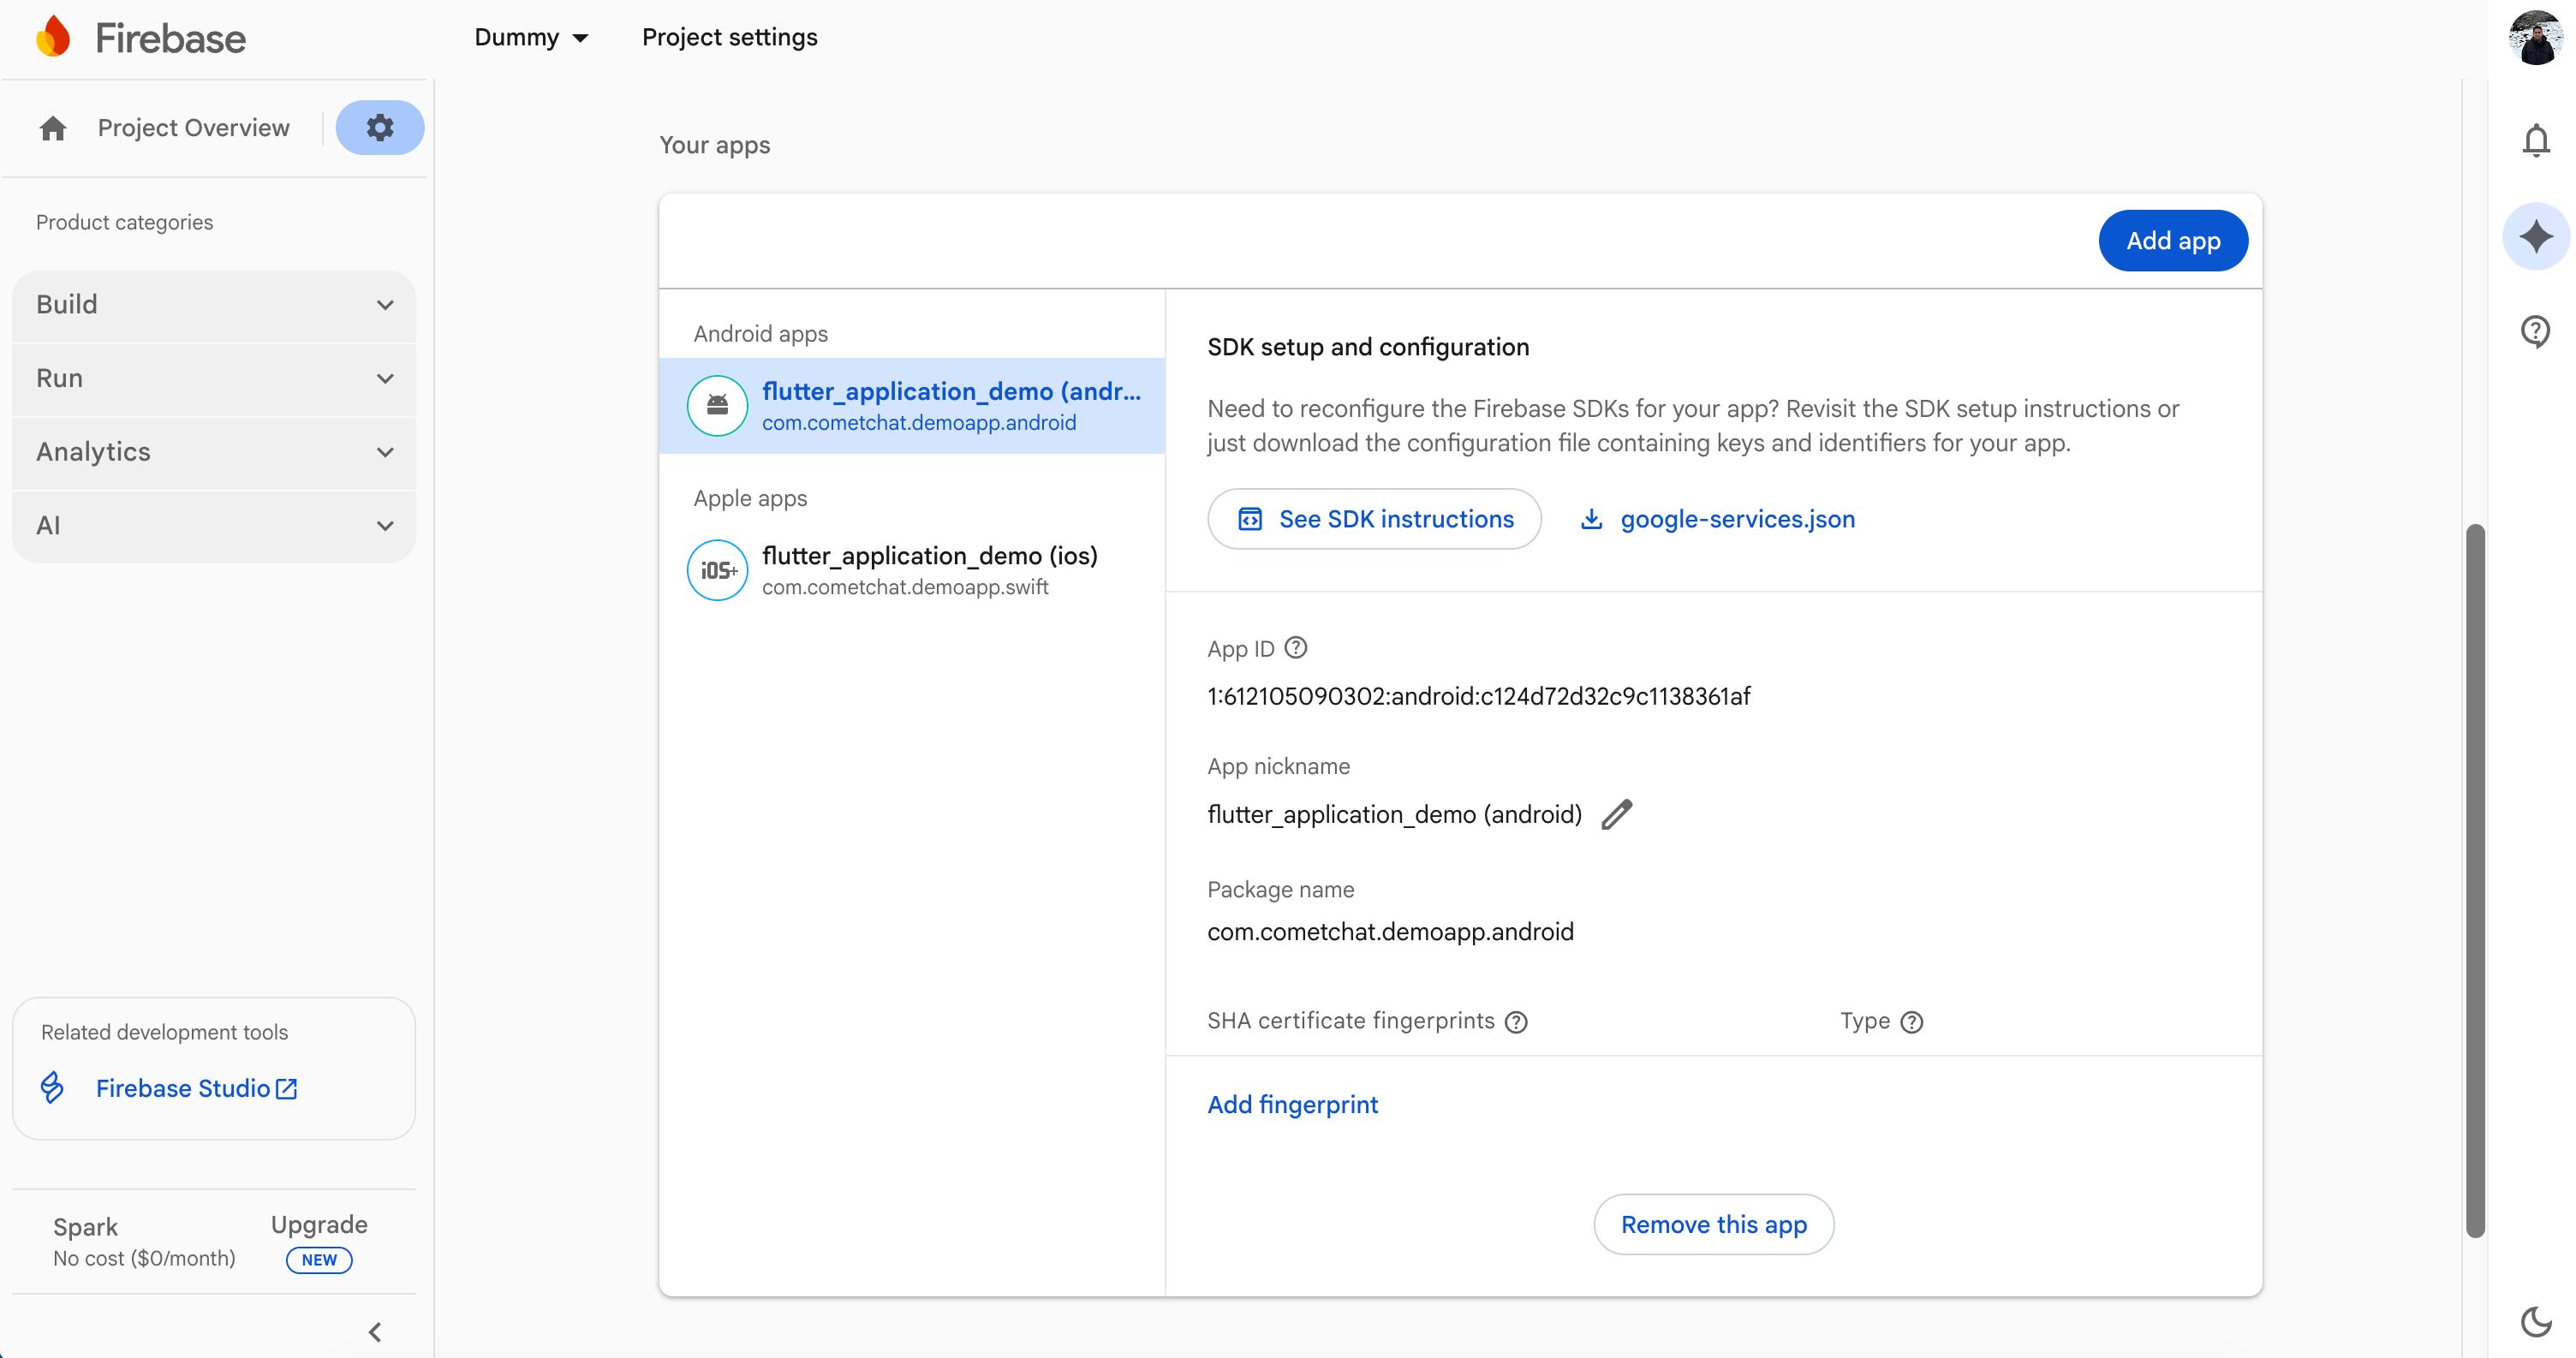
- Firebase Console: Add your Android package, download
google-services.jsoninto the app module, and enable Cloud Messaging.
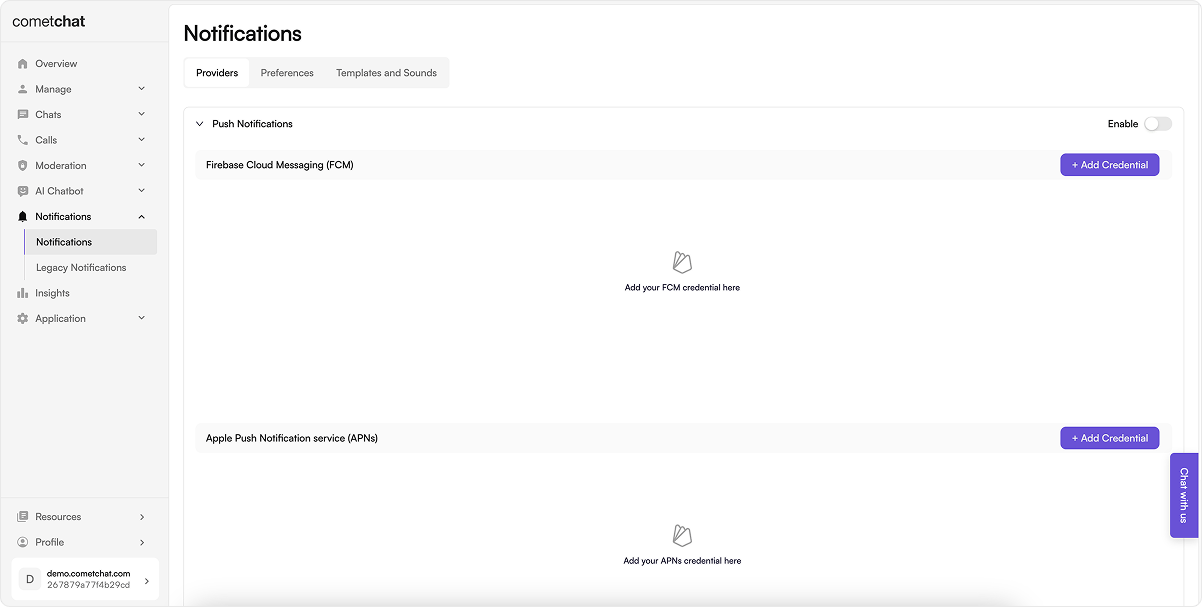
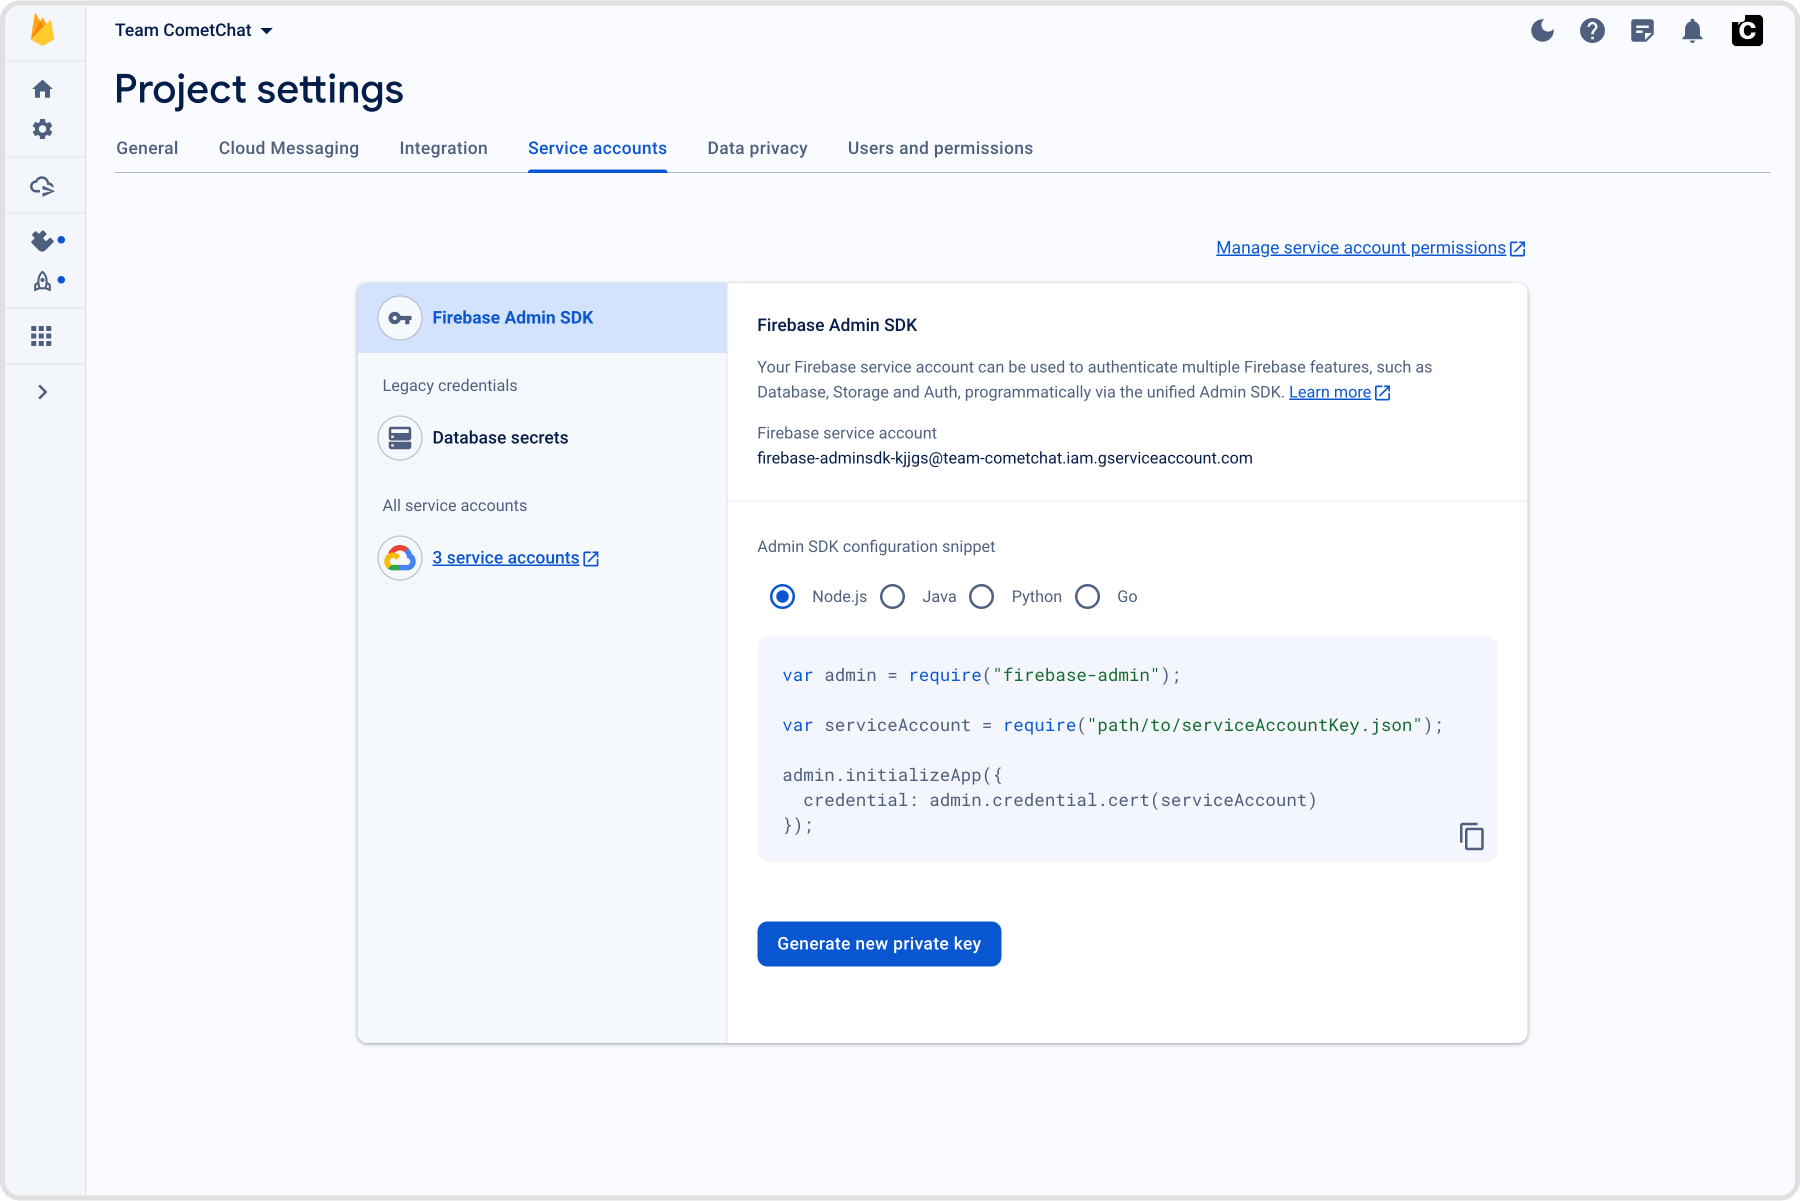
- CometChat dashboard: Go to Notifications → Settings, enable Push Notifications, click Add Credentials (FCM), upload the Firebase service account JSON (Project settings → Service accounts → Generate new private key), and copy the Provider ID.
- App constants: Note down your CometChat App ID, Auth Key, and Region from the CometChat dashboard and keep them available to be added to your project’s AppCrendentials.kt. Similarly, note the FCM Provider ID generated in the CometChat dashboard and add the same in your AppConstants.kt; this will be when registering the FCM token with CometChat.
2. Add dependencies (Gradle)
Use a version catalog and aliases (UpdateapplicationId, package names, icons, and app name.). Also, if you are new to CometChat, please review the Maven repositories and related setup requirements before proceeding.
- TOML (libs.versions.toml)
- Groovy (app/build.gradle)
- Apply the
google-servicesplugin and placegoogle-services.jsonin the same module; keepviewBindingenabled if you copy UI Kit screens directly from the sample. - Update
applicationId, package names, icons, and app name as needed.
3. Manifest permissions and services
Start from the sampleAndroidManifest.xml:
-
Permissions cover notifications + telecom; services/receiver wire Firebase delivery (
FCMService), notification actions (FCMMessageBroadcastReceiver), and telecom UI (CometChatVoIPConnectionService). Pointandroid:nameto yourMyApplication. -
Set
android:nameon<application>to yourMyApplicationsubclass. -
Keep runtime permission prompts for notifications, mic, camera, and media access (see
AppUtils.kt/HomeActivity.ktin the sample).
4. Application wiring, sample code, and callbacks
- Clone/open the reference repo.
- Copy into your app module (keep structure):
- Update packages to your namespace; set
AppCredentials(App ID/Auth Key/Region) andAppConstants.FCMConstants.PROVIDER_IDto your dashboard provider. Point<application android:name>and services/receivers to your package; update app name/icons as needed. - Keep notification constants from
AppConstants.kt; rename channels/keys consistently if you change them.
FCMService– receives FCM data/notification messages, parses CometChat payload, and hands off toFCMMessageBroadcastReceiver.FCMMessageBroadcastReceiver– builds grouped notifications, inline reply actions, and routes taps/deeplinks to yourHomeActivity.Repository.registerFCMToken– fetches the FCM token and registers it with CometChat usingAppConstants.FCMConstants.PROVIDER_ID; call after login.Repository.acceptCall/rejectCall/rejectCallWithBusyStatus– performs server-side call actions so the caller sees the correct state even if your UI is backgrounded.MyApplication– initializes UIKit, manages websocket connect/disconnect, tracks foreground state, and shows/dismisses incoming call overlays.CometChatVoIPConnectionService– handles Android telecom integration so call pushes display a system-grade incoming call UI and cleanly end/busy on reject.
HomeActivity so taps or deep links land in the right screen.
SplashViewModel (init UIKit + login check)
UIKitSettings, initializes CometChat UIKit (without auto socket), sets sample metadata, and exposes loginStatus so the splash can route to login vs home.
Repository (push token + call helpers)
isAppInForeground/currentActivityinside lifecycle callbacks.currentOpenChatIdwhen a chat screen opens; clear on exit to suppress notifications only for the active chat.tempCallviasetTempCall(...)when an incoming call arrives; clear on dismiss/end.getTempCall()is read on resume to re-show the banner.
5. Application wiring and permissions
AppUtils.kt+ your entry screen (e.g.,HomeActivity): request notification/mic/camera/storage permissions early.- In
HomeActivity, keep the VoIP permission chain and phone-account enablement so call pushes can render the native UI:
currentOpenChatId so you don’t alert for the chat currently open.
6. Register the FCM token after login
Call registration right afterCometChatUIKit.login() succeeds:
7. Unregister the token on logout
8. Badge count
CometChat’s Enhanced Push Notification payload includes anunreadMessageCount field (a string) representing the total unread messages across all conversations for the logged-in user. You can use this to set the app icon badge and enrich local notifications.
8.1 Enable unread badge count on the CometChat Dashboard
- Go to CometChat Dashboard → Notification Engine → Settings → Preferences → Push Notification Preferences.
- Scroll to the bottom and enable the Unread Badge Count toggle.
unreadMessageCount field in every push payload sent to your app.
8.2 Add the ShortcutBadger dependency
Add the ShortcutBadger library to your app-levelbuild.gradle:
8.3 Expected payload format
CometChat sends FCM data messages with this structure (relevant fields):unreadMessageCount is a string representing the total unread messages across all conversations for the logged-in user.
8.4 Update the app badge from the push payload
Inside your notification service (for exampleFCMService.onMessageReceived), parse unreadMessageCount and update the badge:
ShortcutBadger uses launcher-specific APIs (Samsung, Huawei, Xiaomi, etc.) to display a badge number on the app icon. Passing 0 clears the badge.
8.5 Show unread count in the notification
Update your notification builder to display the unread count in the notification itself:setNumber(count)displays a count badge on the notification icon.setSubText()shows the unread count below the notification title.
8.6 Clear badge when the app opens
Clear the badge count when the app launches and every time it resumes from the background. OverrideonResume() in your main activity:
9. Handle message pushes
FCMService.onMessageReceivedchecksmessage.data["type"].- For
type == "chat": mark delivered (CometChat.markAsDelivered), skip notifying if the chat is already open (MyApplication.currentOpenChatId), and build grouped notifications (avatars + BigText) viaFCMMessageNotificationUtilswith inline reply actions. FCMMessageBroadcastReceiverhandles inline replies, initializes the SDK headlessly, sends the reply, and refreshes the notification.- In your messaging service (e.g.,
FCMService), set the notification tap intent to your splash/entry activity (e.g.,SplashActivity), and keep thecurrentOpenChatIdcheck to suppress notifications for the open chat.
10. Handle call pushes (ConnectionService)
- For
type == "call",FCMService.handleCallFlowparsesFCMCallDtoand routes to thevoippackage. CometChatVoIPregisters aPhoneAccountand triggersTelecomManager.addNewIncomingCallfor native full-screen UI with Accept/Decline.- Busy logic: if already on a call, reject with busy (
Repository.rejectCallWithBusyStatus). Cancel/timeout pushes end the active telecom call when IDs match. - Runtime VoIP checks: before handling call pushes, request
READ_PHONE_STATE,MANAGE_OWN_CALLS, andANSWER_PHONE_CALLSat runtime and ensure the phone account is enabled (CometChatVoIP.hasEnabledPhoneAccountForVoIP). - Foreground suppression: the sample ignores VoIP banners if
MyApplication.isAppInForeground()is true; keep or remove based on your UX. - Cancel/unanswered handling: on
callActionofcancelled/unanswered, end the active telecom call if the session IDs match.
11. Customize notification text or parse payloads
Parse the push into aBaseMessage for deep links:
BaseMessage so you can navigate to the right conversation/thread without extra API calls.
Override the push body before sending:
pushNotification field in metadata so CometChat uses your custom text as the push body for that message.
12. Navigation from notifications
Notification taps launchSplashActivity; it reads NOTIFICATION_PAYLOAD extras and opens the correct user or group in MessagesActivity. Keep launchMode settings that allow the intent extras to arrive.
13. Testing checklist
- Install on a physical device and grant notification + mic permissions (Android 13+ needs
POST_NOTIFICATIONS). - Log in and ensure token registration succeeds (check Logcat).
- Send a message from another user:
- Foreground: grouped notification shows unless you are already in that chat.
- Background/terminated: tap opens the correct conversation.
- Inline reply from the shade delivers the message and updates the notification.
- Trigger an incoming call push:
- Native full-screen call UI appears with caller info.
- Accept/Decline work; cancel/timeout dismisses the telecom call.
- Reinstall or clear app data to confirm token re-registration works.