

Start your first conversation
The CometChat UI Kit for React simplifies the process of integrating in-app chat functionality with essential messaging features. With a collection of prebuilt UI components, it offers seamless theming options, including light and dark themes, various fonts, colors, and extensive customization possibilities. Supporting both one-to-one and group conversations, the CometChat UI Kit for React empowers developers to initiate chat functionalities effortlessly. Follow the guide below to begin implementing chat features into your React applications using CometChat React UI Kit.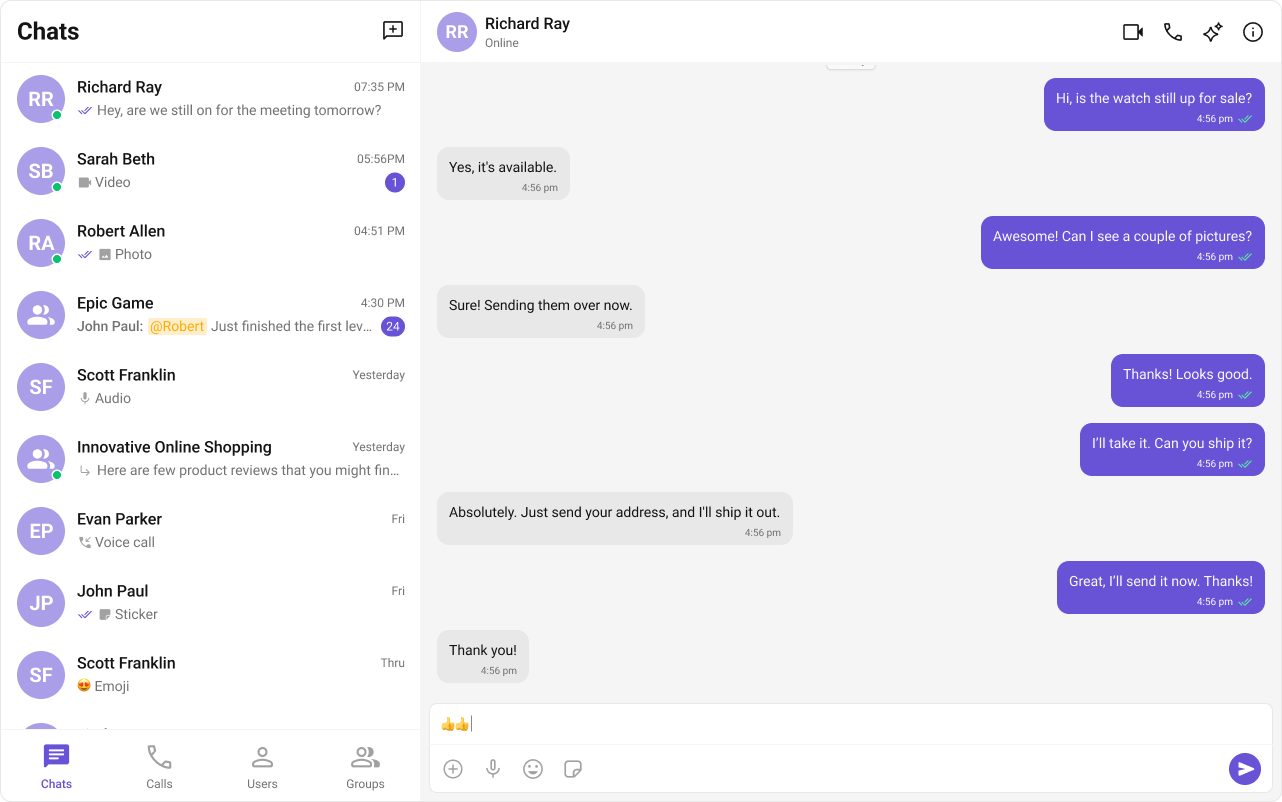
Prerequisites
Before installing UI Kit for React, you need to create a CometChat application on the CometChat Dashboard, which comprises everything required in a chat service including users, groups, calls & messages. You will require theApp ID, AuthKey, and Region of your CometChat application when initializing the UI Kit.
i. Register on CometChat
- You need to register on the CometChat Dashboard first. Click here to sign up.
- Create a new app
- Head over to the QuickStart or API & Auth Keys section and note the App ID, Auth Key, and Region.
Each CometChat application can be integrated with a single client app. Within the same application, users can communicate with each other across all platforms, whether they are on mobile devices or on the web.
- You have Node.js installed on your machine.
- You have a code editor like Visual Studio Code or Atom installed.
- You have npm or Yarn installed.
- You have a
Next.jsapp. You can follow the Next.js Documentation to create a new app.
Built With
Getting Started
1
Create a project
To get started with React, follow these steps:
- Open your code editor.
- Create a new project by initializing a new NextJs application using Create Next App.
- Navigate to your project directory and open the project in your code editor.
- Begin developing your NextJs application in the “pages” directory.
- Install additional dependencies as required.
2
Add Dependency
This developer kit is an add-on feature to CometChat JavaScript SDK, so installing it will also install the core Chat SDK.
3
Initialize CometChat UI Kit
The Init method initialises the settings required for CometChat. Please ensure to call this method before invoking any other methods from CometChat UI Kit or CometChat SDK.Since the CometChat JavaScript SDK requires window to function. We need to disable SSR for the UI Kit to function. Please refer to Step 5.
The Auth Key is an optional property of the
UIKitSettings Class. It is intended for use primarily during proof-of-concept (POC) development or in the early stages of application development. You can use the Auth Token method to log in securely.- TypeScript
- JavaScript
Make sure to replace the APP_ID with your CometChat appId, AUTH_KEY with your CometChat app auth key and REGION with your app region in the above code.
4
Login User
The Login method returns the User object containing all the information of the logged-in user.Since the CometChat JavaScript SDK requires window to function. We need to disable SSR for the UI Kit to function. Please refer to Step 5.
The Auth Key is an optional property of the
UIKitSettings Class. It is intended for use primarily during proof-of-concept (POC) development or in the early stages of application development. You can use the Auth Token method to log in securely.- TypeScript
- JavaScript
5
Render Conversations
- Create a new file
CometChatNoSSR.tsxinside thesrc/pagesfolder of your project. Here we will initialize CometChat UI Kit, login a user & then launch Conversations component.
CometChatNoSSR.tsx
- Disable SSR in your project for
CometChatNoSSR.tsxfile only. This change will be done inindex.tsxfile.
index.tsx
- Update your
global.cssfile in thesrc/stylesfolder to import CometChat UI Kit’s CSS file & a few cosmetic changes.
global.css
6
Run the project
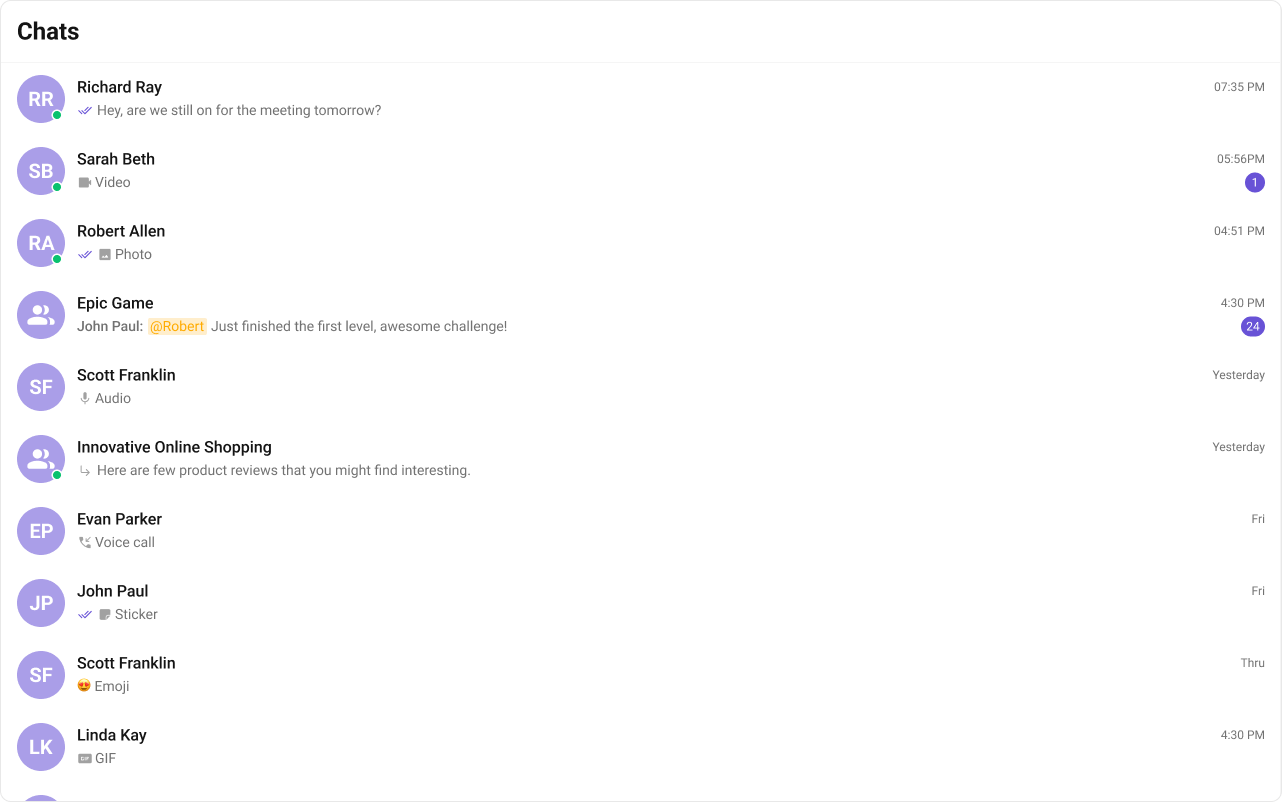
Building a Messaging UI with Conversations
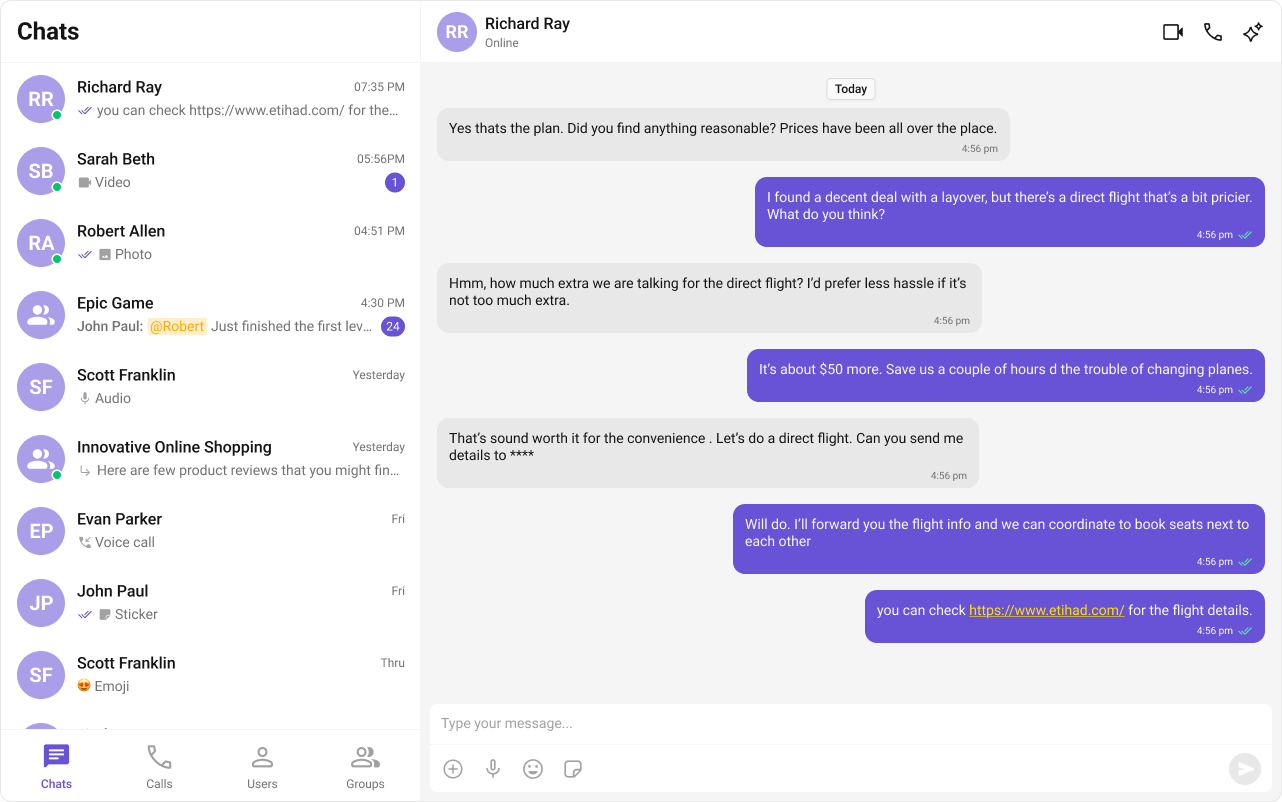
Tabs component which will render the different tabs and on change we can render different components. Create a folder CometChatTabs in src/pages folder. And add the below code,
- CometChatTabs.tsx
- CometChatTabs.css
Sidebar component which will render the different components(Conversations, Users, Groups, Calls). Create a folder CometChatSelector in src/pages folder. And add the below code,
- CometChatSelector.tsx
- CometChatSelector.css
CometChatNoSSR.tsx & CometChatNoSSR.css files to import these new components as below,
- CometChatNoSSR.tsx
- CometChatNoSSR.css